
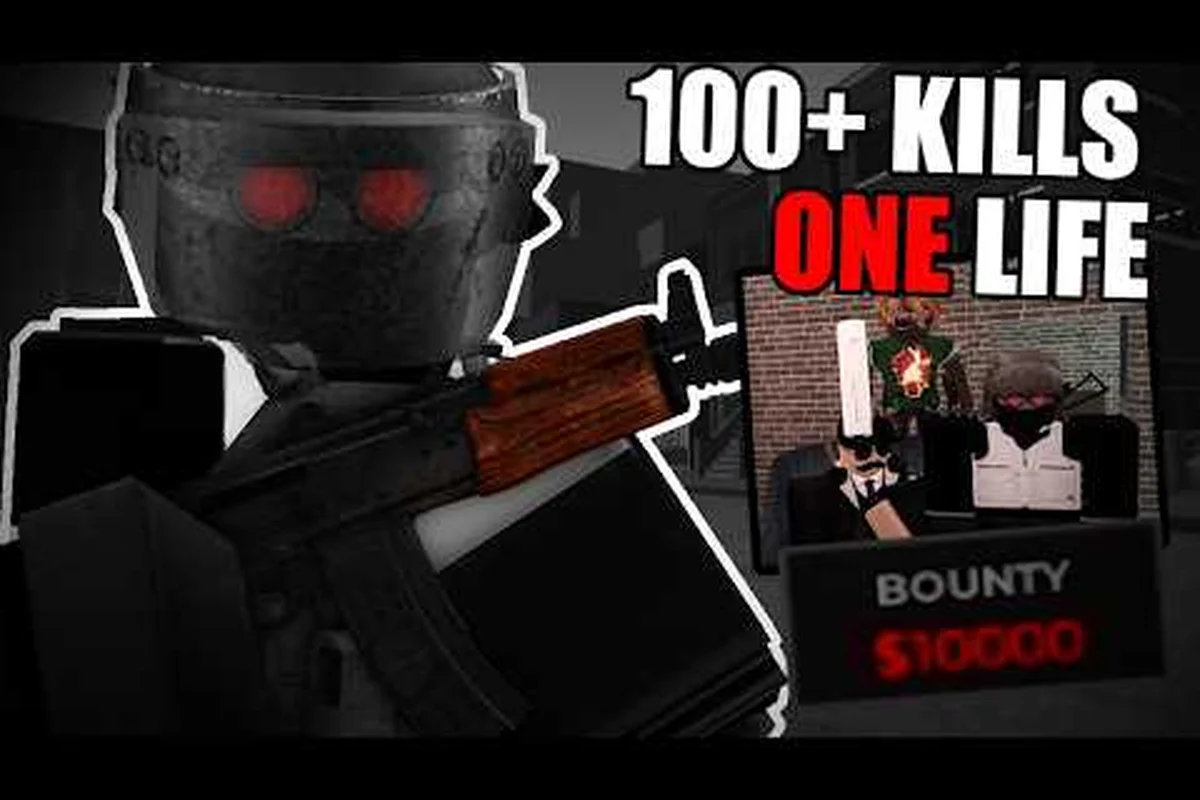
A Criminality bounty makes every fight more purposeful because the target carries a visible reward and draws opponents toward a confrontation. Learn how to claim loot, manage scraps, and spend your earnings without wasting the value of a hard-won Criminality grind.
How Criminality Bounties Work
A Criminality bounty functions as a named cash objective that places a target on another player. That marker changes the rhythm of a fight because you can enter an encounter with a clear reason to engage rather than relying only on an immediate dispute. The objective also creates risk, since other players may see the same target and interfere with your claim.
The game has not published a bounty-value formula, so there is no verified amount to expect from every criminality bounty. Its actual worth can also depend on the target, available opponents, the loot left in the area, and whether you preserve enough resources to escape. A successful objective is therefore measured by what you collect, not by a fixed number shown before the fight.
Objective, Target, and Loot
The bounty marker establishes the target, while the fight determines whether you can collect the associated criminality loot. If another player wins the encounter, the rewards may leave the server or become inaccessible to you, so the competition does not stop when one side starts attacking.
Understanding the separation between the target and the reward helps prevent a common mistake: rushing into a crowded encounter without checking what happens to dropped items. The official Criminality material does not disclose a universal drop table, exact payout structure, or formula for converting a bounty into cash. Those details may vary as the game changes.
| Bounty element | What it does | What players should verify |
|---|---|---|
| Bounty marker | Identifies the current target | Whether the marker remains visible during the pursuit |
| Target encounter | Creates a reason to engage another player | How many opponents are already nearby |
| Bounty reward | Provides the potential payout for a successful claim | Which items remain in the area afterward |
| Loot ownership | Determines who can take available items | Whether every dropped item can be collected immediately |
| Private Server rule | Can disable the objective entirely | Whether the active server has bounties enabled |
Server-level control is an important detail because a Private Server can use a no-bounties rule, confirming that the system can be removed rather than merely hidden. As a result, a criminality bounty is not guaranteed in every session, and you should verify the objective before changing your route in search of it.
Criminality Loot and Scrap Value
The real reward from a Criminality bounty is often the collection of items left around the combat area. These can include criminality loot and criminality scraps, but the published game information does not provide a complete list, fixed quantity, or guaranteed drop rate for every bounty target. Treat exact inventory totals as session-specific rather than reusable rules.
Scrap is valuable because it gives you a resource to evaluate beyond the immediate cash score. A player who grabs only one obvious item may miss additional value, whereas a player who watches the battlefield can gather materials that support later purchases. The best approach is to collect what is safe first, then expand only when the fight is clearly under control.
Reading the Fight Through Its Rewards
Loot priorities should change with the surrounding danger. If several enemies remain active, securing a nearby stack and creating distance may be worth more than chasing a distant reward. Once opponents are down and the area is secure, you can sweep the area methodically. This prevents a strong payday from becoming a loss because the reward was never secured.
| Reward state | Best response | Reason |
|---|---|---|
| Items exposed under pressure | Secure the nearest useful loot | Immediate claims reduce the chance of losing everything |
| Scrap available after a won fight | Collect it if the route remains clear | Scrap supports a longer-term spending plan |
| Reward trapped near opponents | Wait for a safe opening | Chasing can surrender the advantage you earned |
| Several rewards visible | Prioritize value and escape routes | A complete collection is less useful if it costs a defeat |
| No visible reward | Reassess the objective | The game does not promise a fixed payout for every target |
The priority order is simple: preserve the win, claim the safest valuable items, collect scrap without extending the fight, and leave before another group arrives. That sequence matters because the Criminality grind becomes more efficient when each successful objective feeds directly into the next planned purchase rather than becoming a costly chase.
Cash drops and other income sources can complement a bounty run, but they should not distract you from the target while the encounter is active. The allowance payout and money-drop overview explains how those passive or environmental earnings differ from a target-based objective. Keeping the income sources separate makes it easier to identify which method actually produced your latest cash.
Turning a Bounty Run into Faster Cash
A good criminality grind is not measured by the number of fights alone. It is measured by the amount of usable cash and materials retained after each encounter. Because the bounty value formula is unpublished, efficiency must be evaluated through controllable factors: preparation, route selection, loot recovery, and spending decisions.
Preparing Before the Fight
Preparation starts before you accept a pursuit. Check your available equipment, healing supplies, and escape routes rather than assuming the target is an isolated opponent. A bounty can draw a crowd because the reward is visible, so traveling through a busy area may create a second fight immediately after the first.
Use space to separate the objective from other players. If you can redirect the target away from a congested location, you reduce the number of interruptions. This is especially valuable when the fight begins against a narrow route or an area with several nearby groups. The Criminality stun and downed-state guide can help you understand the control states that influence whether an opponent stays in the engagement.
| Preparation choice | Cash impact | Practical reason |
|---|---|---|
| Enter with healing available | Protects collected value | Prevents a damaged state from forcing an early exit |
| Watch the target's route | Reduces crowd exposure | A quieter route can make the objective easier to claim |
| Preserve an escape path | Limits loss risk | A successful fight still counts only if rewards remain yours |
| Delay unnecessary side loot | Keeps attention on the target | Chasing scrap can allow a new opponent to intervene |
| Compare routes before moving | Improves consistency | Not every route has equal traffic or recovery space |
The best opening is the one that keeps the target isolated and your exit open. Chasing a possible reward immediately after a kill is not necessary; the safer move is to assess the remaining field, collect visible items, and leave when no immediate threat remains. A disciplined exit often preserves more value than one extra grab.
Claiming Loot Without Losing the Reward
Claiming loot is a separate skill from winning combat. A player can win a fight and still fail to secure the bounty reward if the area is crowded, the items are spread out, or the player remains in the engagement for too long. The most reliable method treats collection as a short sequence rather than an open-ended search.
First, identify the items that are actually accessible. Then move in a direct line between them, while keeping the nearest threat in view. Avoid collecting one distant item while a closer enemy is still active. The same rule applies to criminality scraps: they may support future progress, but they are not worth turning a won encounter into a second fight.
The Four-Step Claim Sequence
The four-step claim sequence turns a chaotic battlefield into a manageable decision process. It also makes it easier to learn from mistakes because you can identify whether the loss happened during positioning, collection, or escape.
| Step | Action | Decision checkpoint |
|---|---|---|
| 1. Stabilize | Confirm that nearby opponents are no longer an immediate threat | Is the area safe enough to collect? |
| 2. Prioritize | Choose the nearest high-value accessible items | Can each item be claimed before another arrival? |
| 3. Collect | Gather cash, loot, and useful scraps efficiently | Is the route still clear? |
| 4. Exit | Leave the reward area before the next group converges | Has the bounty value been secured? |
Abort criteria matter as much as the steps. If a new opponent appears during collection, a valuable item is unreachable, or your route back is closing, you should preserve what you already hold. Another target can provide another criminality bounty, so a clean exit is preferable to turning one secured reward into a total loss.
Do not assume that a visible item belongs to you simply because you participated. The correct action is to follow the pickup prompt and observe whether the inventory accepts the object. This also prevents wasting time on decorative objects that look useful but have no pickup function.
Spending at Criminality Stores
Completed bounties become more valuable when their rewards support a deliberate spending plan. Criminality stores provide places to turn collected cash, loot, and scraps into useful resources, but the game has not published a universal formula for the best purchase order. That choice depends on your available balance, current equipment, and whether you intend to fight, explore, or continue gathering.
A sound approach is to separate purchases into three categories: immediate capability, longer-term progression, and flexible savings. Buying only the first category can leave you unprepared when a fight goes poorly, while spending every available resource on long-term items can make each new engagement harder. Keeping some cash gives you room to react.
Building a Balanced Store Plan
The best first purchase is the one that improves your next bounty run without removing every fallback. If your current equipment is unreliable, reinforcing that setup can increase the chance of finishing the target and collecting the loot. If your equipment is already sufficient, preserving more cash may produce better results during the next high-risk pursuit.
| Spending priority | Best use | Why it supports bounty hunting |
|---|---|---|
| Immediate capability | Practical combat or survival needs | Helps complete the current objective safely |
| Resource efficiency | Items that reduce repeated losses | Keeps more expected reward in circulation |
| Long-term progression | Broader account or equipment goals | Builds value across many bounty runs |
| Reserve | Unspent cash and materials | Covers an unexpected need without another grind cycle |
| Impulse purchase | Lower-priority cosmetic or luxury item | Useful only when the core budget is already stable |
Budget before buying is the central rule. Set a spending limit based on the value you actually secured, because the absence of a published payout formula makes precise per-bounty budgeting impossible. A practical player tracks the run as a whole: total items collected, items kept, purchases made, and cash remaining.
Criminality stores can also be used to redirect your criminality loot and scraps into a more dependable setup. If a resource does not solve an immediate problem and another purchase clearly improves your next objective, the latter is usually the stronger economic choice. This is especially useful when your main grind is repetitive and small inefficiencies would otherwise accumulate.
Improving Your Criminality Grind Efficiently
A criminality grind improves when each activity feeds the next. The bounty supplies a reason to enter combat, the loot and scraps provide resources, and the stores convert those resources into stronger options. The loop is efficient only if you protect the value at every stage rather than treating the kill as the final achievement.
Begin with one route and one spending priority. This limits distraction while you learn where objectives are most common, how quickly groups converge, and which recovery mistakes repeat. Once the route is stable, add a second approach or vary the store purchases. This measured process is more reliable than changing every part of the routine after one bad encounter.
Measuring the Full Cash Loop
Track qualitative and observable results rather than inventing exact multipliers. The game does not publish a bounty-value formula, so your own session record is the best available way to compare routes. Separate successful claims from attempts that ended without collecting the reward.
| Metric | What to record | Why it matters |
|---|---|---|
| Claim rate | Fights where the reward was secured | Shows whether the current approach converts targets into income |
| Recovery rate | Loot collected after a won fight | Reveals losses caused by poor positioning or collection |
| Scrap balance | Materials carried between runs | Indicates whether a route supports store purchases |
| Cash remainder | Funds left after spending | Measures the stability of the economy |
| Repeat interruptions | New opponents joining the same area | Highlights crowded routes and timing problems |
Community experience can help identify patterns, but reported player observations should be treated as practical guidance rather than official rules. The official Criminality channels and the game’s own bounty behavior are more reliable for mechanical claims, while no official source currently supplies a complete payout table, scrap drop rate, or store efficiency formula.
For newer players, the Criminality beginner guide can help establish the controls and general gameplay loop before spending heavily on a specialized plan. Once that foundation is stable, treat bounty hunting as a measured cash method rather than random fighting, and the progress becomes easier to reproduce.
Common Criminality Bounty Mistakes
Most bounty mistakes come from confusing opportunity with guaranteed profit. The target marker shows where an objective exists, not how the entire encounter will unfold. Other players can enter, loot can remain behind after a fight, and a visible reward can be lost if the collection phase is delayed.
The most damaging habit is continuing an engagement after the target is down. You may assume the objective is complete, yet nearby opponents remain free to contest the loot. The second habit is spreading attention across every item at once. A short priority list is more effective because it reduces movement and the time your reward remains exposed.
Prevention Checklist
Use this checklist before repeating a bounty route:
-
Verify that the current server has bounties enabled, especially on a Private Server.
-
Identify the target and note where nearby opponents are positioned.
-
Bring enough support to finish the encounter and preserve a route to leave.
-
Set a collection priority before the target goes down.
-
Collect the safest valuable items first, then consider additional scrap.
-
Leave after the immediate threat is gone rather than searching indefinitely.
-
Compare the cash and materials kept with the purchases made afterward.
| Mistake | Immediate result | Correction |
|---|---|---|
| Following the marker blindly | Entering a crowded fight | Observe the surrounding area first |
| Assuming a fixed payout | Chasing an incorrect reward expectation | Use your own claim records |
| Collecting while enemies remain active | Losing loot after a win | Stabilize the area first |
| Buying without a budget | Entering the next pursuit underfunded | Reserve cash for the next run |
| Chasing every scrap | Extending the fight | Collect scrap only while the route is clear |
| Ignoring server settings | Searching for an absent objective | Check whether bounties are disabled |
A clean exit is a successful economic decision when a new group enters, because a preserved reward supports the next store purchase and the next bounty attempt. Avoid treating every visible item as mandatory, because the best route is the one that converts a target into retained resources without repeatedly overextending.
Frequently Asked Questions
How much cash does a Criminality bounty give?
Criminality has not published a fixed bounty payout or value formula. The amount you receive can vary with the target and encounter, so the best approach is to track the cash and items you actually retain. Compare those records across routes instead of relying on a number that the game has not confirmed.
Can a Criminality bounty be disabled?
Yes. A Private Server can use a no-bounties rule, which confirms that the objective can be removed at the server level. Check the active server before committing to a pursuit, because a visible objective will not appear in every session and waiting for one may waste time in a server configured without bounties.
What should I collect after winning a Criminality bounty?
Secure the nearest valuable cash and criminality loot first, then collect criminality scraps if the area remains safe. Do not chase a distant item while opponents are still active or the route is closing. You should also confirm each pickup, since the game does not publish a guaranteed item list for every target.
Should I spend bounty rewards immediately at Criminality stores?
Not always. Reserve enough cash or materials to support your next pursuit, then spend the remainder on immediate capability or longer-term progression. Since no official store-efficiency formula is published, use your own records to see which purchases improve future bounty runs without leaving you unable to replace basic supplies.